Pre-Roll Ad Insertion Instructions
Pre-roll: These are advertisements inserted at the very beginning of your episode. Users are allowed a single pre-roll per episode.
If you have Full Ad Insertion, click here to get started.
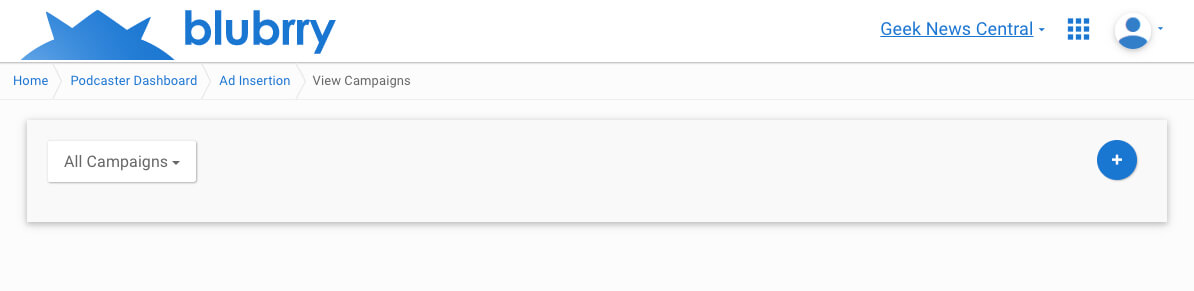
To get started, visit the Ad Insertion dashboard. After submitting the user agreement, you are ready to get started with pre-roll ad-insertion. Here you’ll find all of your active, paused, drafted, and archived campaigns; to create a new one click the plus button.
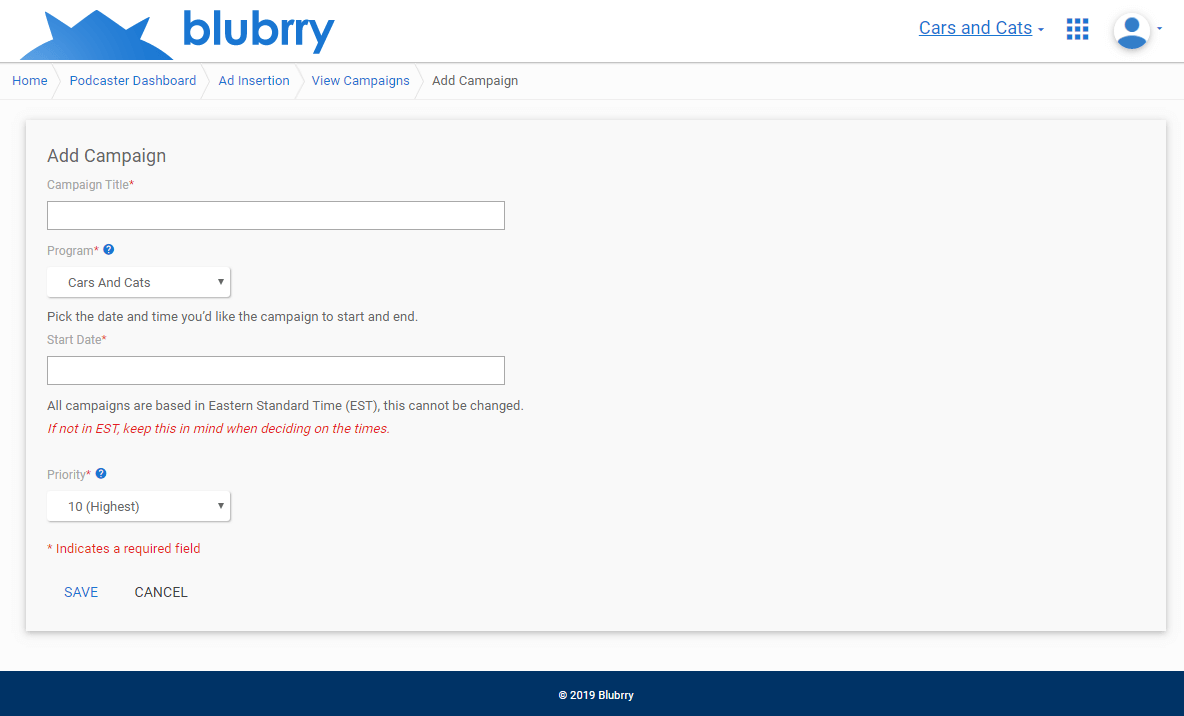
You’ll be brought to the ‘Add Campaign’ page, where you will provide the details for the campaign you want to set up. After saving you’ll be redirected to the ‘Campaigns details’ page.
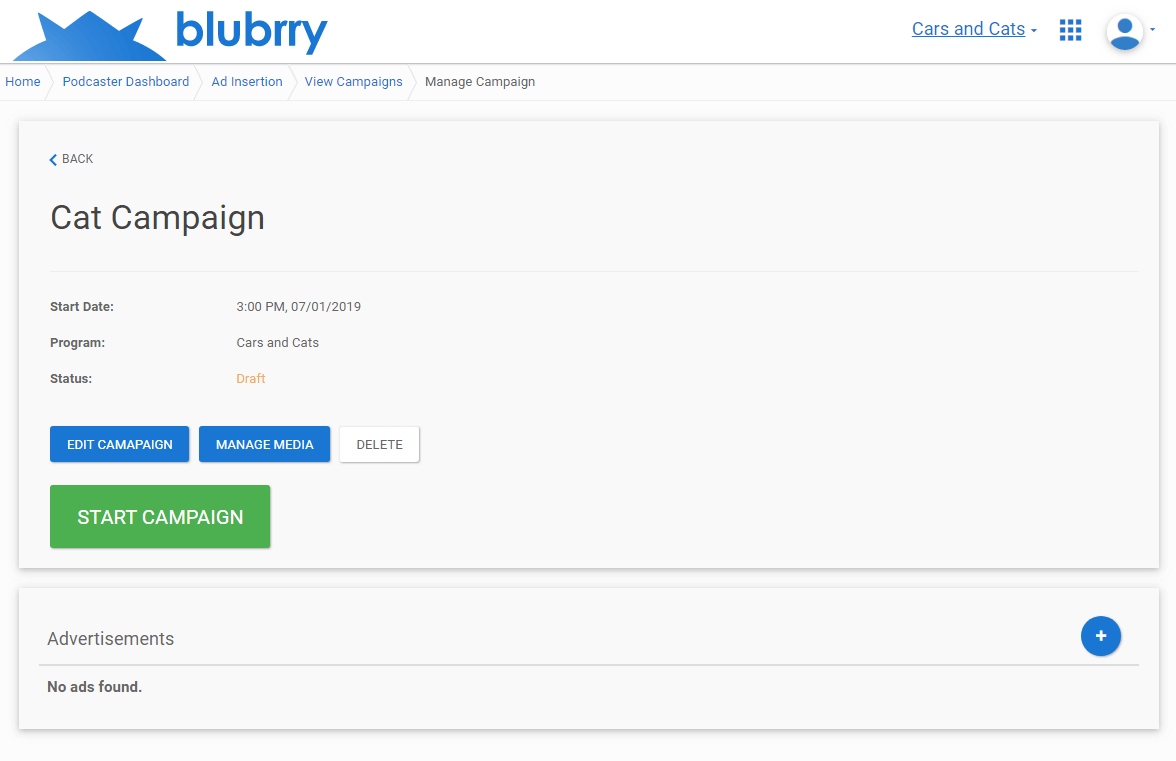
You may be tempted to click the big green ‘Start Campaign’ button, but we still need an advertisement, and some episodes to put the advertisement in. To add an ad, simply click ‘Add Advertisement’. This is where you will provide all the details about your ad.
- Give your ad a distinct title
- Provide a start and finish date; often it will be the same dates of the campaign. If you want to replace the ad mid-campaign you can upload multiple ads and change the run dates and times.
- Please be careful to not overlap times. If they do overlap the system will take the higher priority.
- All times are set to Eastern Time with Daylight Savings Time corrections.
Be sure to save at the bottom of the form.

Follow the ‘Upload Ad Audio’ prompts. After uploading hit ‘Back’ (not the browser’s back button). On the ‘Campaign Details’ page, you can hit ‘Start Campaign’ and then ‘Apply Changes.’
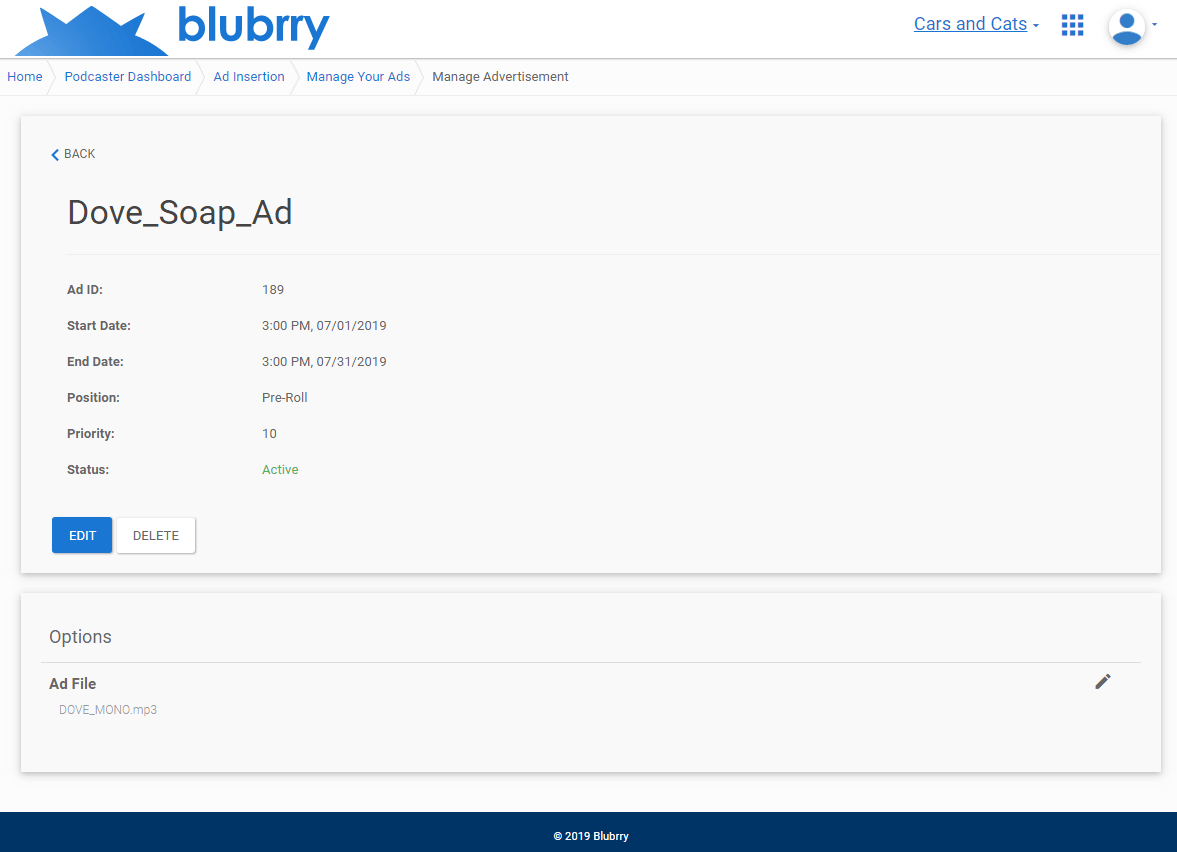
Back on the ‘Campaign Details’ page, the ad is listed under ‘Advertisements.’ To edit your ad, just click the pencil icon to on the ad.

If you would like to insert ads into already published episodes, click on the Manage Media button. Here you’ll find the latest 50 of your episodes. Simply select the episodes you want and click “Update Queue”. These episodes are now included in your campaign and will receive any changes to your ad that you might make. Newly published episodes will appear in this list and automatically added to your campaign. You’re finally ready to start your campaign. Head back to the Campaign Details page, and click the big green ‘Start Campaign’ button.
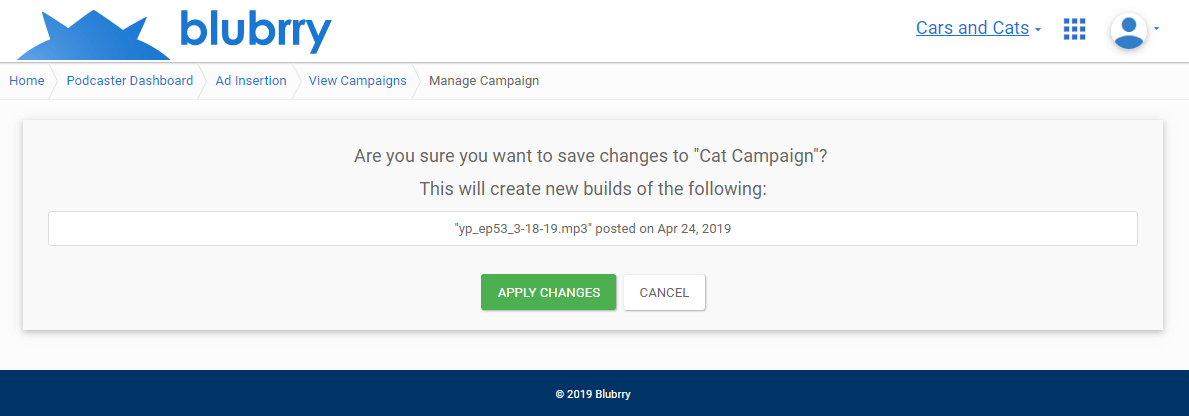
After confirming these changes, you will be taken back to the Manage Media screen where you can see the status of your build.
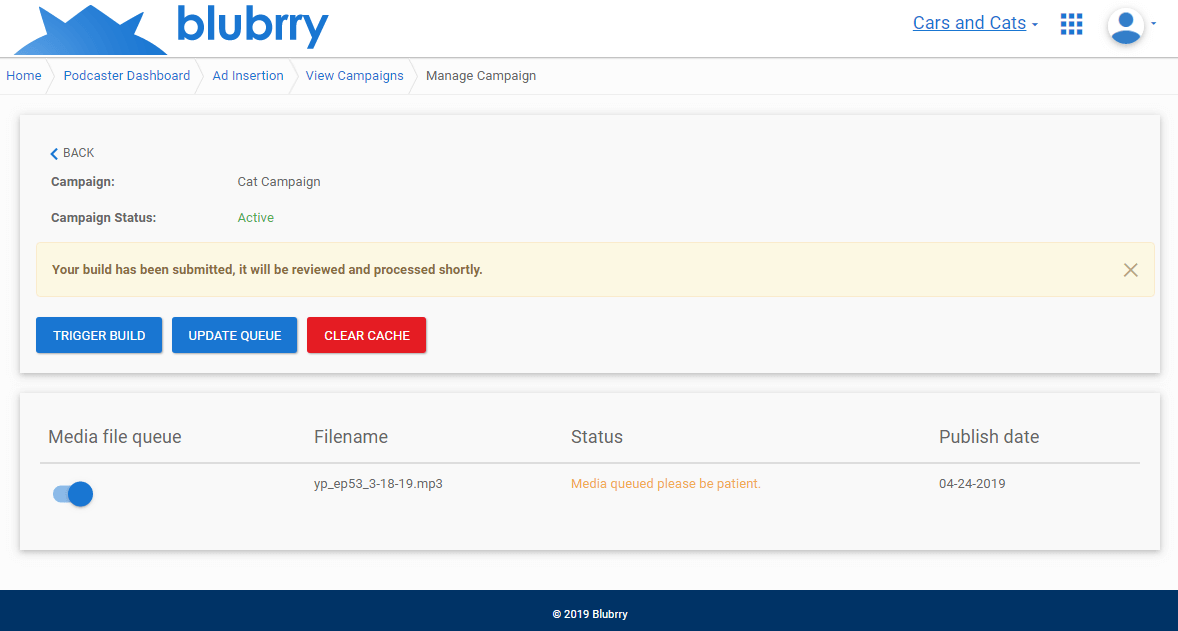
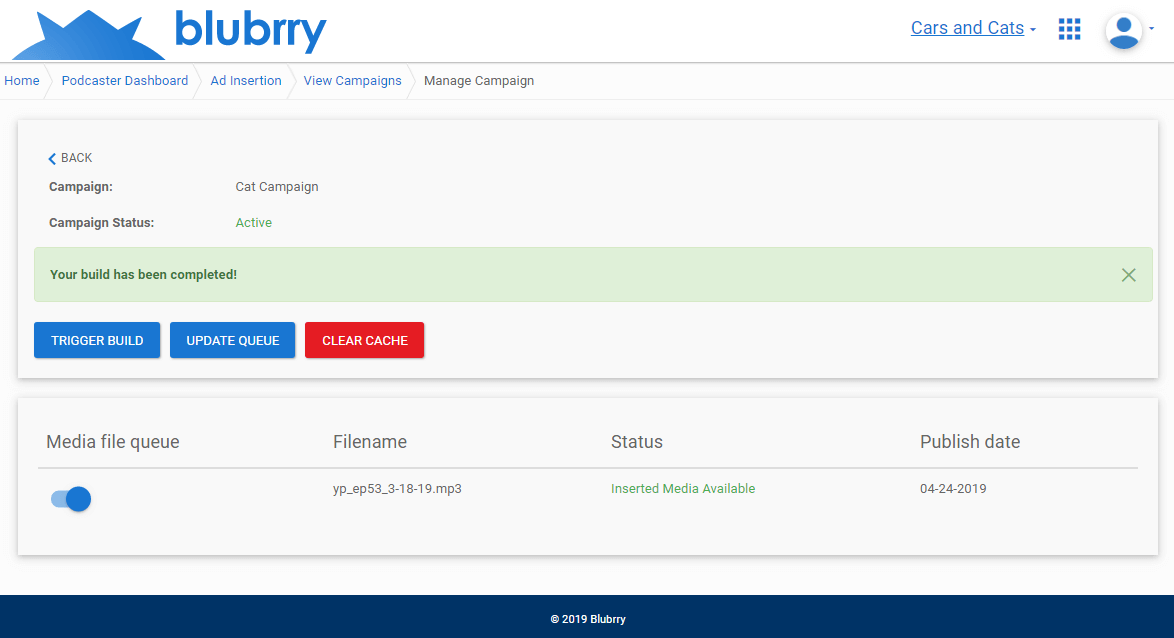
This screen will update once the build is complete.
Note: Whenever you make changes to your campaign, you need to click ‘APPLY CHANGES’ on the ‘Campaign Details’ page for the changes to take effect. You can also apply those changes by triggering a build from the Manage Media page.